Android User Guide
App Access and Installation
You can download the mobile app (CANFISHPASS) from the Google Play store. Once installed, the app will be accessible on your phone with the CWF logo as the app icon.
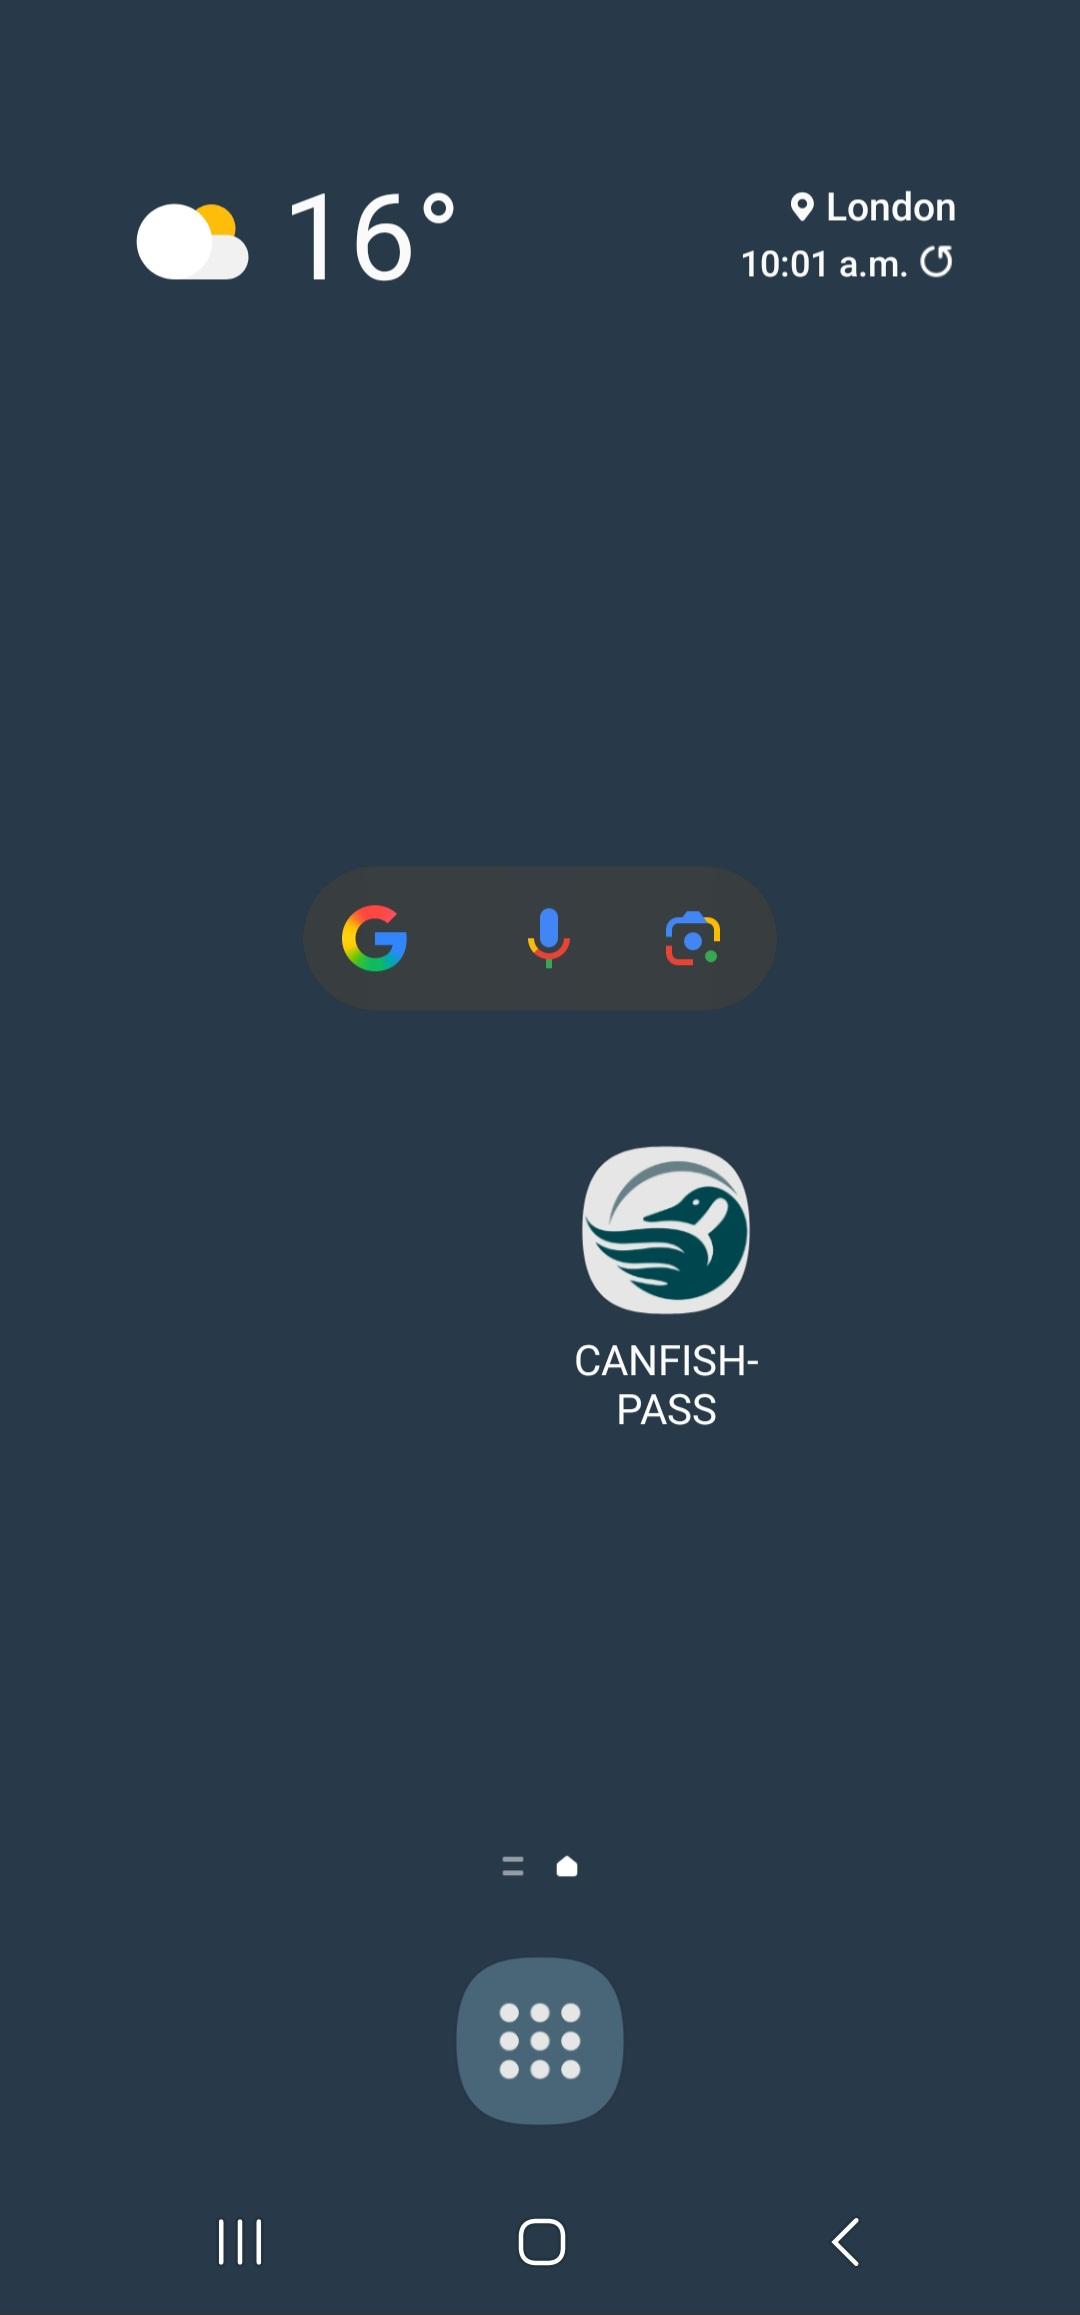
You are now ready to open and explore the app!
App Overview and Guidance
This page contains information on:
Getting Started
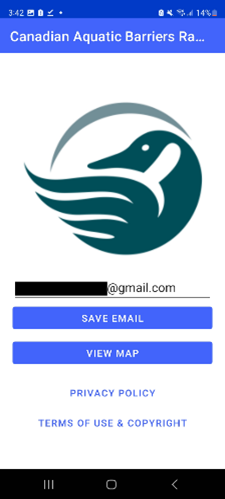
Once the app is downloaded and installed, you can open it from your device’s home screen. When you first open the app you will be greeted with a home screen that has the CWF logo and a text box where you’ll enter your email address and click “SAVE EMAIL”. Once the email is correct and saved, you can click ‘VIEW MAP’, which will bring you to the main app page and map space.
Interface Components
Once you’ve navigated past the home screen, the main map space of the app will appear. In the top-right corner of the screen, you’ll see three vertical dots (see image below).
Press these three dots to refresh map features and view or manage your uploaded or cached features. (For more details, see Using the Feature Cache to Upload Saved Assessment Submissions.)
Below the three vertical dots, you’ll see three buttons which gives you access to key features in the app.
Here’s a quick summary of what each one does:
Button icon |
Button Name |
Button Functionality |
|---|---|---|
|
My Location |
Snaps the map space back to your current location. Ensure your location settings are enabled to use this feature. |
|
Imagery/Base Map Toggle |
Toggles between satellite imagery, base map and feature (dams and stream crossing) views. |
|
New feature |
Adds a new barrier feature point that does not already exist on the map, see adding and assessing a new barrier below for more information on adding new features. |


Navigating the Map Space and Barrier Symbology
On the map space page, you should see your current location along with the default base map. If your location is not automatically displayed, ensure that your device’s location services are enabled and that the app has permission to access your location. Once permissions are confirmed, open the app menu and tap ‘My Location’ (see above) to center the map on your current position.
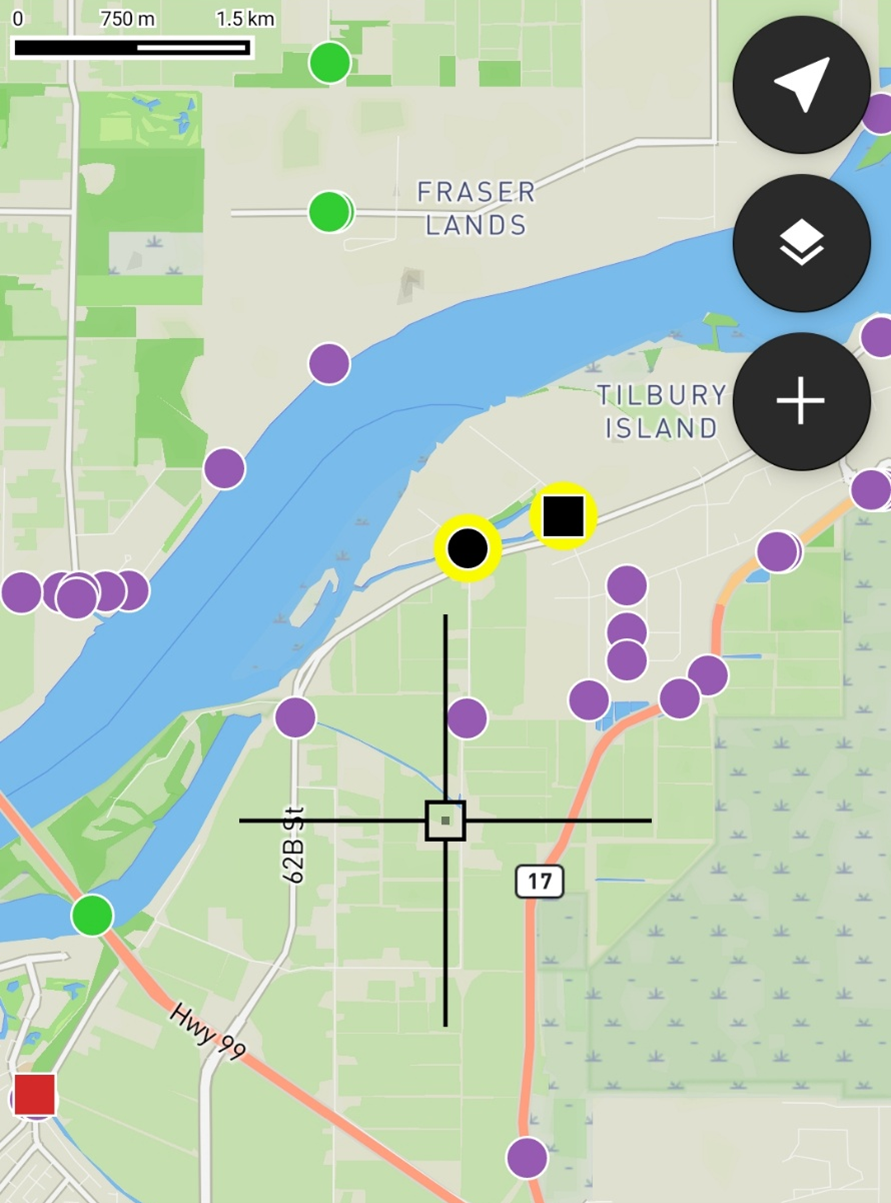
Within the map space, you’ll also see aquatic barrier layers:
Dams – represented by squares
Stream Crossings – represented by circles
While there is currently no in-app legend, the color of each icon indicates the passability status:
Green - Passable
Orange - Partial Barrier
Red - Barrier
Purple - Unknown

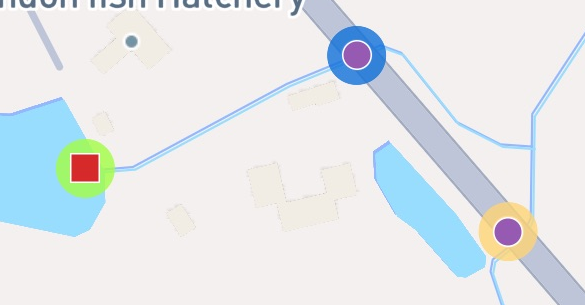
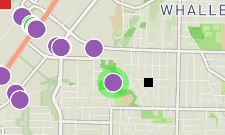
Additionally, once you begin assessing barriers, halos will appear around them to indicate their status:
Green - uploaded features
Blue - autosaved features
Yellow - saved features.
Dams will always remain visible on the map, however, to improve app performance, stream crossings will automatically be hidden when you zoom out beyond a certain level. As you zoom back in, they will reappear (For more details, see App Menu Toggles for more details).
You can navigate the map space using standard Android gestures:
Tap and drag to pan around the map
Pinch to zoom in or out
You’ll also notice a small black crosshair at the center of the screen (see image below). This is the app cursor, which helps you select barrier points on the map. To select a barrier, simply drag the map until the cursor aligns with the barrier of interest.
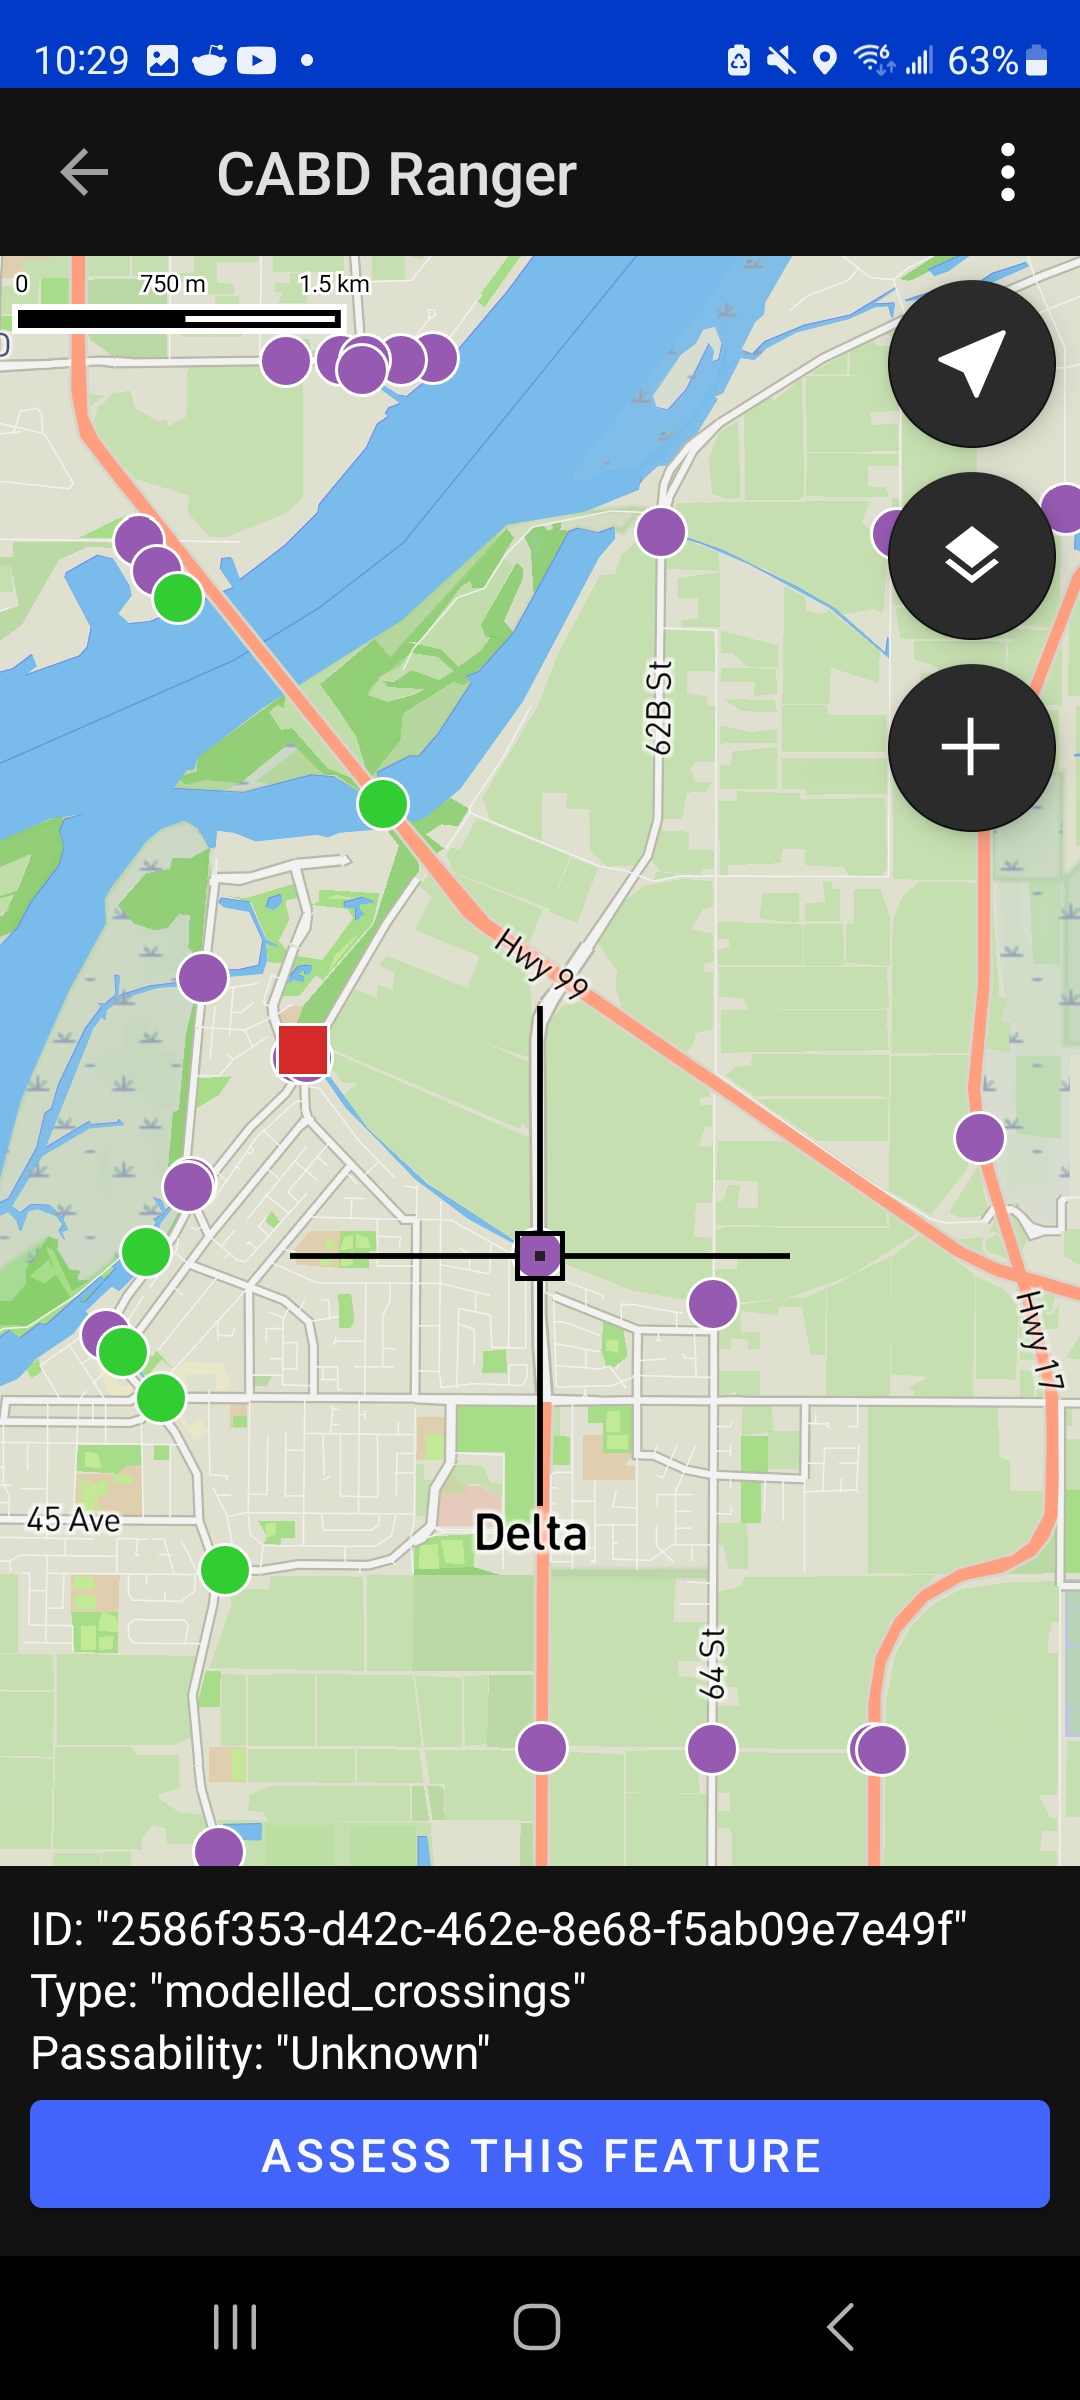
Once the cursor is aligned with a barrier point, an information box will appear at the bottom of the screen. This box displays the barrier ID, structure type, and passability status, along with an ‘ASSESS THIS FEATURE’ button.
Tapping the ‘ASSESS THIS FEATURE’ button opens a form that allows you to assess the selected feature. For detailed instructions on completing an assessment, see the next section Assessing Barriers.
Assessing Barriers
All dams and stream crossings displayed in the map space are sourced from the Canadian Aquatic Barriers Database (CABD). With this app, you can either:
Assess an existing barrier, or
Create a new barrier feature that does not yet exist in the CABD.
To begin, align the app cursor with an existing barrier point, or move it to the location where you’d like to add a new barrier.
Assessing Existing Barriers
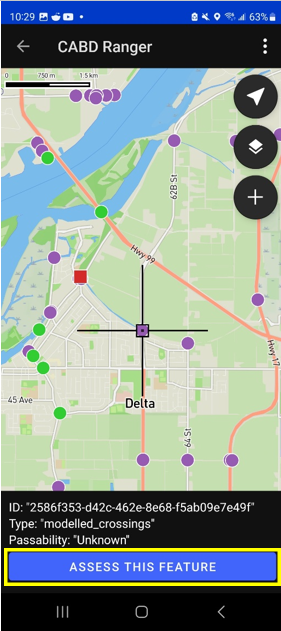
Once the cursor is aligned with an existing barrier point, an information box will appear at the bottom of the screen. This box displays the barrier ID, structure type, and passability status, along with an ‘ASSESS THIS FEATURE’ button (see image below).
Tapping the ‘ASSESS THIS FEATURE’ button opens a form where you can complete the barrier assessment.
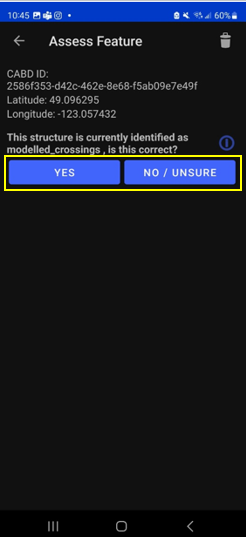
To assess the selected barrier, tap the ‘ASSESS THIS FEATURE’ button. This will open the rapid assessment form.
The first question will ask, “This structure is currently identified as (either a dam or a stream crossing), is this correct?””
If the default structure type is correct, simply tap ‘Yes’ to proceed.
If the structure type is incorrect, then tap ‘No/Unsure’.
Regardless of whether the user selects ‘Yes’ or ‘No/Unsure’ for the question above, the follow-up question will be: “Are you able to acesss the site?” with options of ‘Yes’ or ‘No’
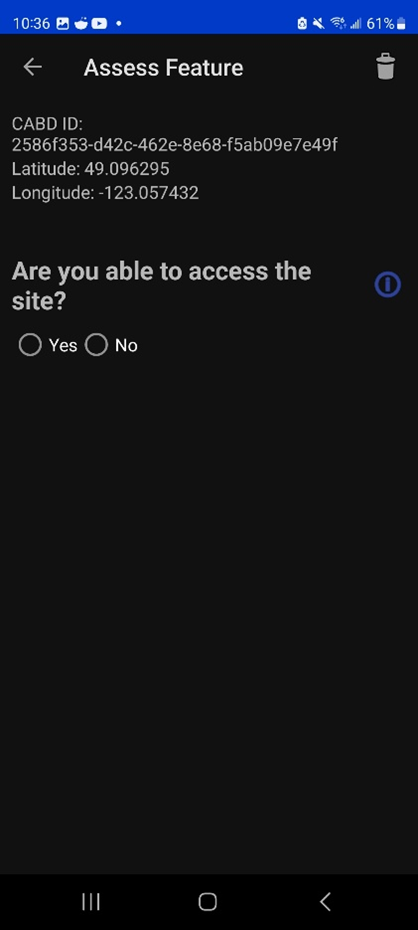
Once these questions are responded to, an additional set of assessment questions and photo prompts specific to that structure type or accessibilty status will appear.
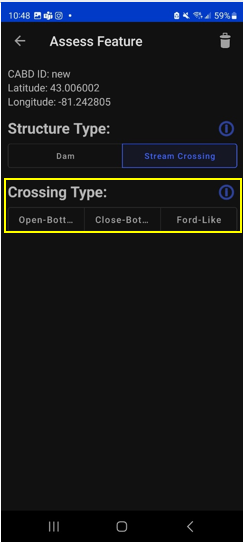
If you selected ‘Stream Crossing’ as the structure type, you’ll also be asked to choose a crossing sub-type:
Closed-bottom
Open-bottom
Ford-like
Each sub-type includes a unique set of questions, so be sure to select the correct option. After selecting the sub-type, tap ‘Next’ to display the remaining assessment questions.
Adding and Assessing a New Barrier
If you encounter a dam or stream crossing that is not shown on the map (i.e., not already in the CABD), you can add a new feature and complete an assessment for it.
To add a new feature:
Use the ‘Go to Your Location’ button (described above) if you’re physically at the structure site, or manually drag the cursor to the correct location on the map.
Once the cursor is at the appropriate spot, tap the plus sign button in the app menu. This will open the rapid assessment form.
The first step is to select the structure type:
Stream Crossing
Dam
After selecting the type, you’ll be presented with a set of assessment questions and photo prompts based on the selected structure.
If you choose ‘Stream Crossing’, you’ll also need to specify the crossing sub-type:
Closed-bottom
Open-bottom
Ford-like
Each sub-type has a unique set of questions, so please be sure to select the correct one. Once selected, additional assessment questions will appear.
Once a new barrier assessment has been saved or uploaded, a black feature point will appear on the map at the assessment location — a square for dams and a circle for stream crossings. See Saving and Uploading Barrier Assessment Submissions below for more information.
Notes of Completing the Barrier Assessment Forms
Each question in the assessment form includes an information icon next to it. Tapping this icon will open a tooltip containing helpful guidance and examples. These tooltips provide context, definitions, and instructions to help you accurately answer each question or take the required photos.
Saving and Uploading Barrier Assessment Submissions
Once you’ve completed all the questions in the assessment form, you’re ready to save or upload your assessment. At the bottom of the form, you’ll see two buttons: ‘SAVE’ and ‘UPLOAD’.If these buttons are greyed out, this means you haven’t filled out all of the required questions in the assessment form.
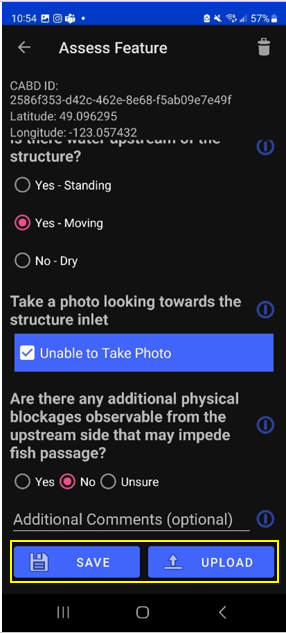
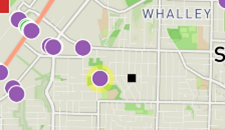
Tapping the ‘SAVE’ button will store the assessment information you’ve entered so that you can manually upload it later. It’s important to note that saving does not upload the assessment to the database. When an assessment is saved, the associated feature point will appear on the map with a yellow halo (see image below). You can reopen a saved form at any time to review or edit the content before choosing to either save it again or upload it. The ‘SAVE’ function works whether you’re online or offline, including when connected to Wi-Fi, using cellular data, or with no service at all.
The ‘UPLOAD’ button, on the other hand, will both save and immediately upload the completed assessment to the database. You do not need to save first — clicking ‘UPLOAD’ takes care of both steps. Once uploaded, the feature point will be displayed on the map with a green halo (see image below). You can reopen and review the content of an uploaded assessment, but you cannot edit it after it has been submitted. The ‘UPLOAD’ button appears blue when you have a Wi-Fi or cellular connection and is greyed out when offline. You can only upload assessments when you are connected to the internet. If you’re offline, use the ‘SAVE’ button instead and upload your completed assessments once a connection is available.
Using the Feature Cache to Upload Saved Assessment Submissions
If you’ve uploaded an assessment directly from an individual feature’s assessment form, you’re all done — great job! However, if you have saved one or more assessments instead, you can either upload them individually or submit them all at once using the app’s feature cache. To upload individually, simply reopen the saved assessment form while connected to Wi-Fi or cellular data, and tap the ‘UPLOAD’ button.
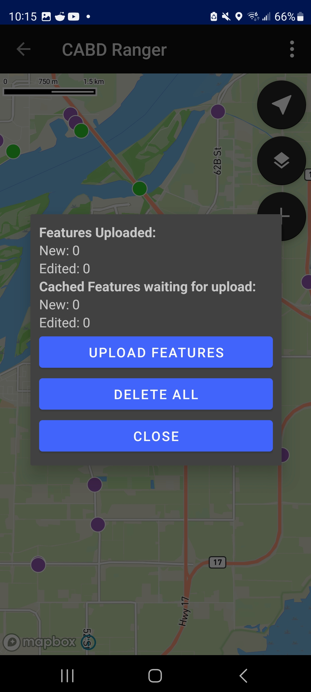
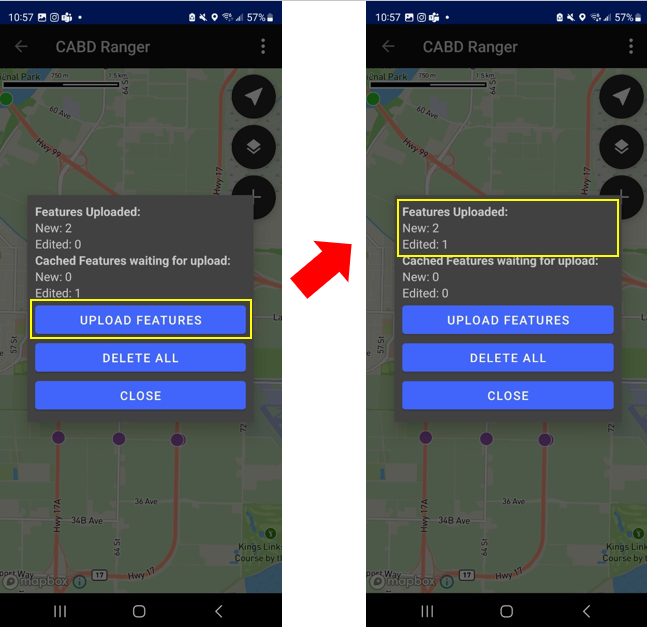
To upload multiple saved assessments at once, use the feature cache. You can access this by opening the Settings window. In the Settings window, you’ll see a summary of the features you’ve already uploaded, as well as a list of cached features (i.e., saved assessments) that are still waiting to be uploaded. The app displays counts for both new features and edited ones (edited features are those that already existed in the database and have been updated). If there are one or more assessments in the “Cached Features waiting for upload” section, you can tap the ‘UPLOAD FEATURES’ button to submit all saved assessments at once. Once the upload is complete, the counts of cached features will reset to zero.
In the feature cache, you’ll also find a ‘DELETE ALL’ button. This function will remove all saved and uploaded assessment features from the map — including their yellow and green halos — and delete all saved assessment form data stored locally in the app. Importantly, this action does not delete any information from the database.
The ‘DELETE ALL’ button is intended to help clear the app’s memory if performance becomes sluggish due to a large number of saved or uploaded features. You should only use this button if you are experiencing app performance issues, and it is essential to ensure that all saved features have been uploaded from the feature cache before doing so to avoid losing any unsubmitted data.
This guide covered all key app functions: navigation, assessments, saving, uploading, and feature management. Use it as a reference to ensure consistent and efficient data collection during your fieldwork.