
iOS User Guide
Important
Safety, access, and permissions
CANFISHPASS is intended to help users record observations about aquatic barriers. It is not a field-safety tool and does not give you permission to enter, inspect, photograph or assess any property, structure or waterway.
Before beginning an assessment, consider whether you can make the observation safely and lawfully. You are responsible for following all applicable laws, site rules, warnings, permits and access restrictions.
When using CANFISHPASS:
Do not trespass or enter private, restricted, closed or hazardous areas.
Do not climb on, enter, alter or interfere with dams, culverts, bridges, crossings, equipment or other infrastructure.
Keep a safe distance from traffic, moving water, unstable ground, construction activity and other hazards.
Do not enter water or approach a structure solely to complete an assessment.
Do not use the App while driving or otherwise distracted.
Obtain any necessary permission before accessing a site or taking photographs.
If access, conditions or safety are uncertain, do not proceed. Record only information you can safely observe from a location you are authorized to access.
Please respect the privacy and rights of others. Avoid capturing identifiable people, private-property details or other unnecessary personal information in photographs or comments. Do not submit information you believe to be confidential, culturally sensitive or likely to create a safety, privacy, security or conservation risk if disclosed.
CWF may review submitted information before it is included in the Canadian Aquatic Barriers Database. That review does not make CWF responsible for a user’s field decisions, conduct or compliance with access requirements.
App Access and Installation
You can download the mobile app (CANFISHPASS) from the Apple App store. Once installed, the app will be accessible on your phone with the CWF logo as the app icon.
You are now ready to open and explore the app!
App Overview and Guidance
This page contains information on:
Getting Started
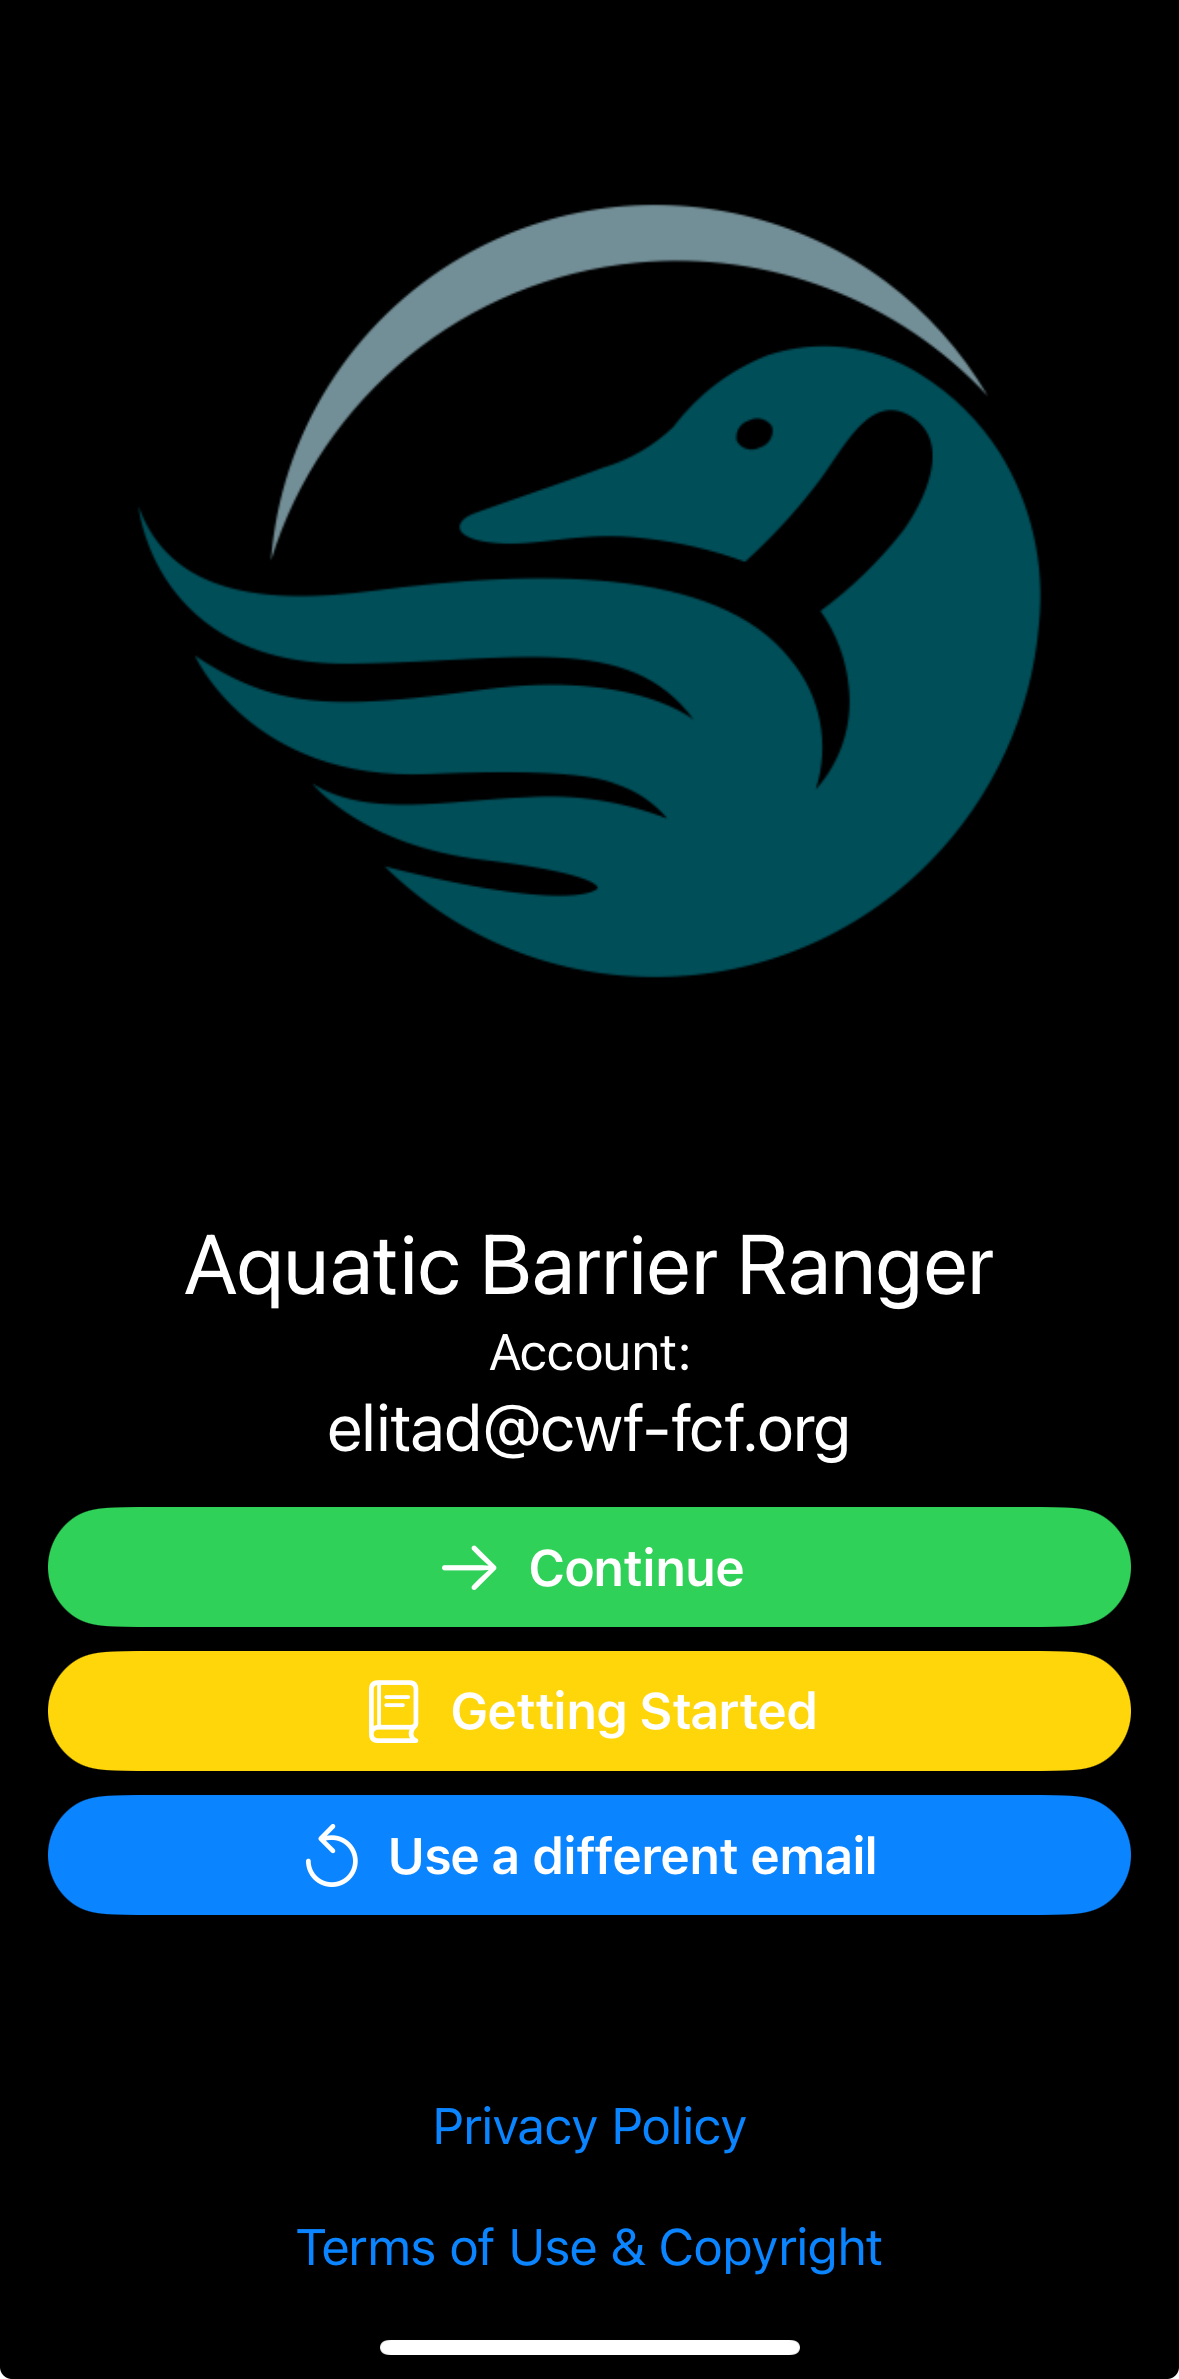
Once the app is downloaded and installed, you can open it from your device’s home screen. When you first open the app you will be greeted with a home screen that has the CWF logo and a text box where you’ll enter your email address and click ‘Continue’ which will bring you to the main app page and map space. Links to a Getting Started guide, Privacy Policy, and Terms of Use & Copyright are also available on this screen.
Interface Components
Once you’ve passed the home screen, you’ll arrive at the main map interface. In the top-right corner, you’ll see six buttons/icons that give you access to key features of the app.
Here’s a quick summary of what each one does:
Button icon |
Button Name |
Button Functionality |
|---|---|---|
|
My Location |
Snaps the map space back to your current location. |
|
Homepage |
Returns you to the homepage. |
|
Profile |
Opens the Profile tab, within which you can request a password change, refresh map features and view/manage your cache of assessed features see using the feature cache to upload saved assessment submissions for more information on the feature cache. |
|
Imagery/Base Map Toggle |
Toggles between satellite imagery and base map views. |
|
New feature |
Adds a new barrier feature point that does not already exist on the map, see adding and assessing a new barrier below for more information on adding new features. |
|
Legend |
Opens the legend for features displayed on the map. |


Navigating the Map Space and Barrier Symbology
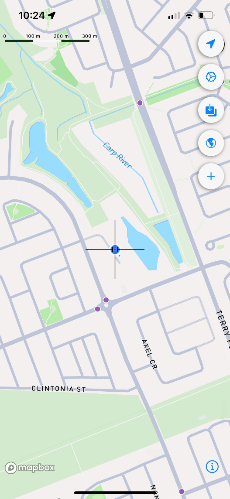
On the map space page, you should see your current location along with the default base map. If your location is not automatically displayed, ensure that your device’s location services are enabled and that the app has permission to access your location. Once permissions are confirmed, press the My Location button. to find your current location on the map.
You can navigate the map space using standard iOS gestures:
Tap and drag to pan around the map.
Pinch to zoom in or out.
If you zoom out too far on the map, barrier features will be hidden to improve app performance. As you zoom back in, they will reappear.
If this is your first time using the app, take a second to view some of the dams and stream crossings near your location.
You’ll also notice a small black crosshair at the center of the screen (see image below). This is the app cursor, which helps you select barrier points on the map. To select a barrier, simply drag the map until the crosshair aligns with the barrier of interest.
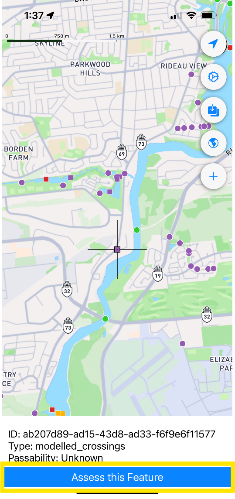
Once the crosshair is aligned with a barrier point, an information box will appear at the bottom of the screen. This box displays the barrier ID, structure type, and passability status, along with ‘EXPLORE THIS FEATURE’ and ‘ASSESS THIS FEATURE’ buttons.
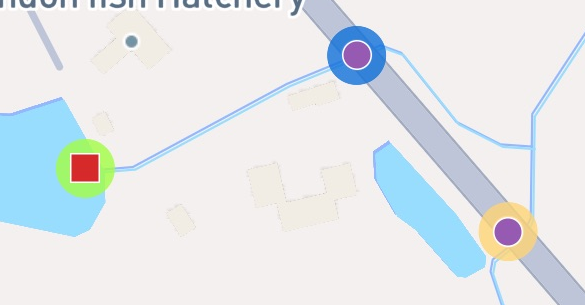
Exploring Barriers
Once the crosshair is aligned with an existing barrier point, an information box will appear at the bottom of the screen with the structure type and passability status.
Click ‘EXPLORE THIS FEATURE’ to open the barrier information window.
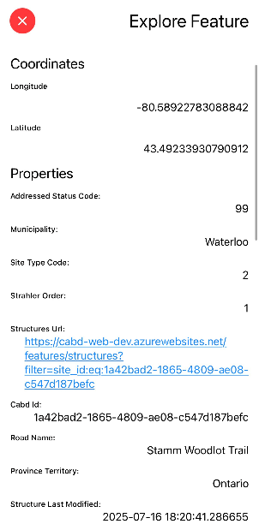
This will display the existing information known about the structure from the Canadian Aquatic Barriers Database (CABD). You’ll likely see lots of NULL values here - so any information you can provide helps us improve our database!
Assessing Barriers
All dams and stream crossings displayed in the map space are sourced from the Canadian Aquatic Barriers Database (CABD). With this app, you can either:
Assess an existing barrier, or
Create a new barrier feature that does not yet exist in the CABD.
To begin, align the app cursor with an existing barrier point, or move it to the location where you’d like to add a new barrier.
Assessing Existing Barriers
Once the crosshair is aligned with an existing barrier point, an information box will appear at the bottom of the screen with the structure type and passability status.
Click ‘ASSESS THIS FEATURE’ to open the assessment form.
Tip: If you’re unsure what a question is asking, or how to respond, tap the Info icon at the top right of the question for additional details.
The first question will ask, “This structure is currently identified as (either a dam or a stream crossing), is this correct?””
If the default structure type is correct, simply tap ‘Yes’ to proceed.
If the structure type is incorrect, then tap ‘No’ if you know what structure type it is, or ‘Unsure’ in all other cases.
Next, indicate if you are able to access the site for further assessment. If you can’t access the site, you will be able to submit your assessment after choosing a reason why the site can’t be accessed.
If you can access the site, an additional set of assessment questions and photo prompts specific to that structure type or accessibility status will appear. Note that all questions must be filled out to save and submit your assessment.
Adding and Assessing a New Barrier
If you find a dam or stream crossing that is not shown on the map (i.e., not already in the CABD), you can add a new feature and complete an assessment for it.
To add a new feature:
Use the ‘Go to Your Location’ button if you’re physically at the structure site, or manually drag the crosshair to the correct location on the map.
Once the crosshair is at the appropriate spot, tap the plus sign button in the app menu. This will open the rapid assessment form.
Once you select the structure type, additional assessment questions and photo prompts will appear.
Once a new barrier assessment has been saved or uploaded, a black feature point will appear on the map at the assessment location — a square for dams and a circle for stream crossings.
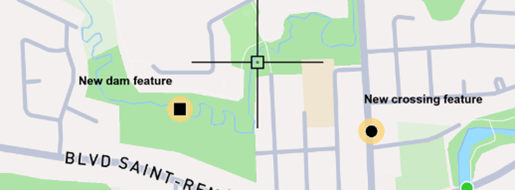
Saving and Uploading Barrier Assessment Submissions
Once you’ve completed all the questions in the assessment form, you’re ready to save or upload your assessment. At the bottom of the form, you’ll see four buttons: ‘Save for Later’, ‘Upload’, ‘Delete’ and ‘Cancel’.
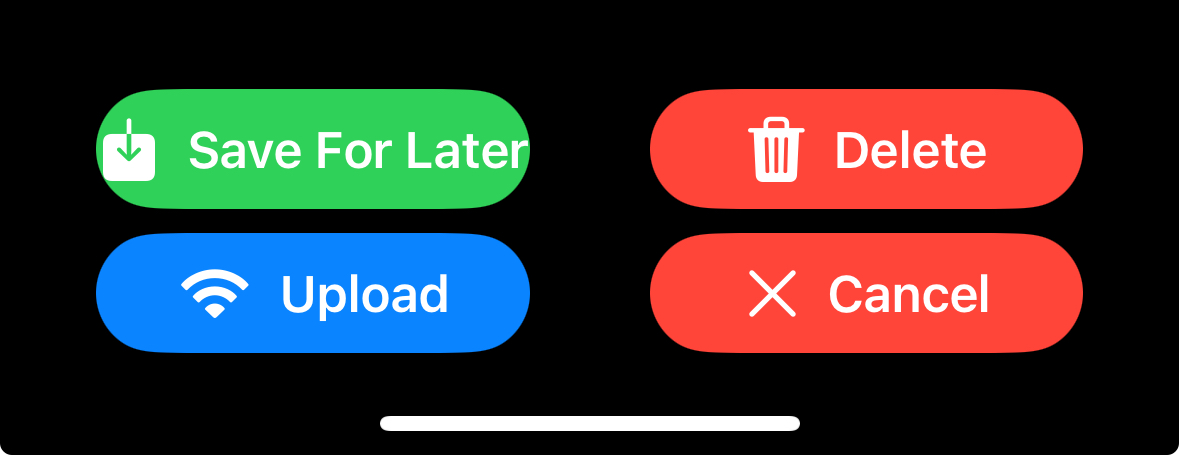
Clicking ‘SAVE’ will store the assessment locally on your device so that you can upload it later. The ‘SAVE’ function works whether you’re online or offline, including when connected to Wi-Fi, using cellular data, or with no service at all.
When an assessment is saved, the associated feature point will appear on the map with a yellow halo. You can reopen a saved form at any time to review or edit the content before choosing to either save it again or upload it.
Clicking ‘UPLOAD’ will both save and immediately upload the completed assessment to the database. Once uploaded, the feature point will be displayed on the map with a green halo. You can open and review the content of an uploaded assessment, but you cannot edit it after it has been submitted. The ‘UPLOAD’ button appears blue when you have a Wi-Fi or cellular connection and is greyed out when offline. You can only upload assessments when you are connected to the internet. If you’re offline, use the ‘SAVE’ button instead and upload your completed assessments once a connection is available.
Using the Feature Cache to Upload Saved Assessment Submissions
If you have multiple saved assessments that you want to upload all at once, open the Profile window at the top right of your screen. You’ll see a summary of total assessments including verified assessments and submissions in review.
Verified means that the assessment has been reviewed by CWF and added to the CABD. Submissions in review means that they are still under review by CWF and that they have not been added.
While in this window, you can tap the ‘UPLOAD FEATURES’ button to submit all saved assessments at once. Once the upload is complete, the counts of saved assessments will be reset to zero.
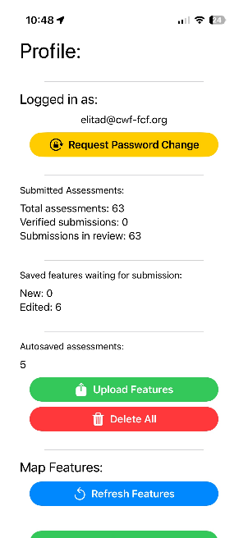
The ‘Refresh Features’ button can be used to refresh the barrier points on the map. The can be used if you run into any issues with the maps layers, particularly if you do not see your submitted assessments appear right away.
You will also see a ‘DELETE ALL’ button on this screen. This button will remove all assessment data saved locally in the app, but will NOT delete any information from the CWF database.
The ‘DELETE ALL’ button is intended to help clear the app’s memory if performance becomes sluggish due to a large number of saved or uploaded features. You should only use this button if you are experiencing app performance issues, and it is essential to ensure that all saved features have been uploaded from the feature cache before doing so to avoid losing any unsubmitted data.